归档页面优化
优化一
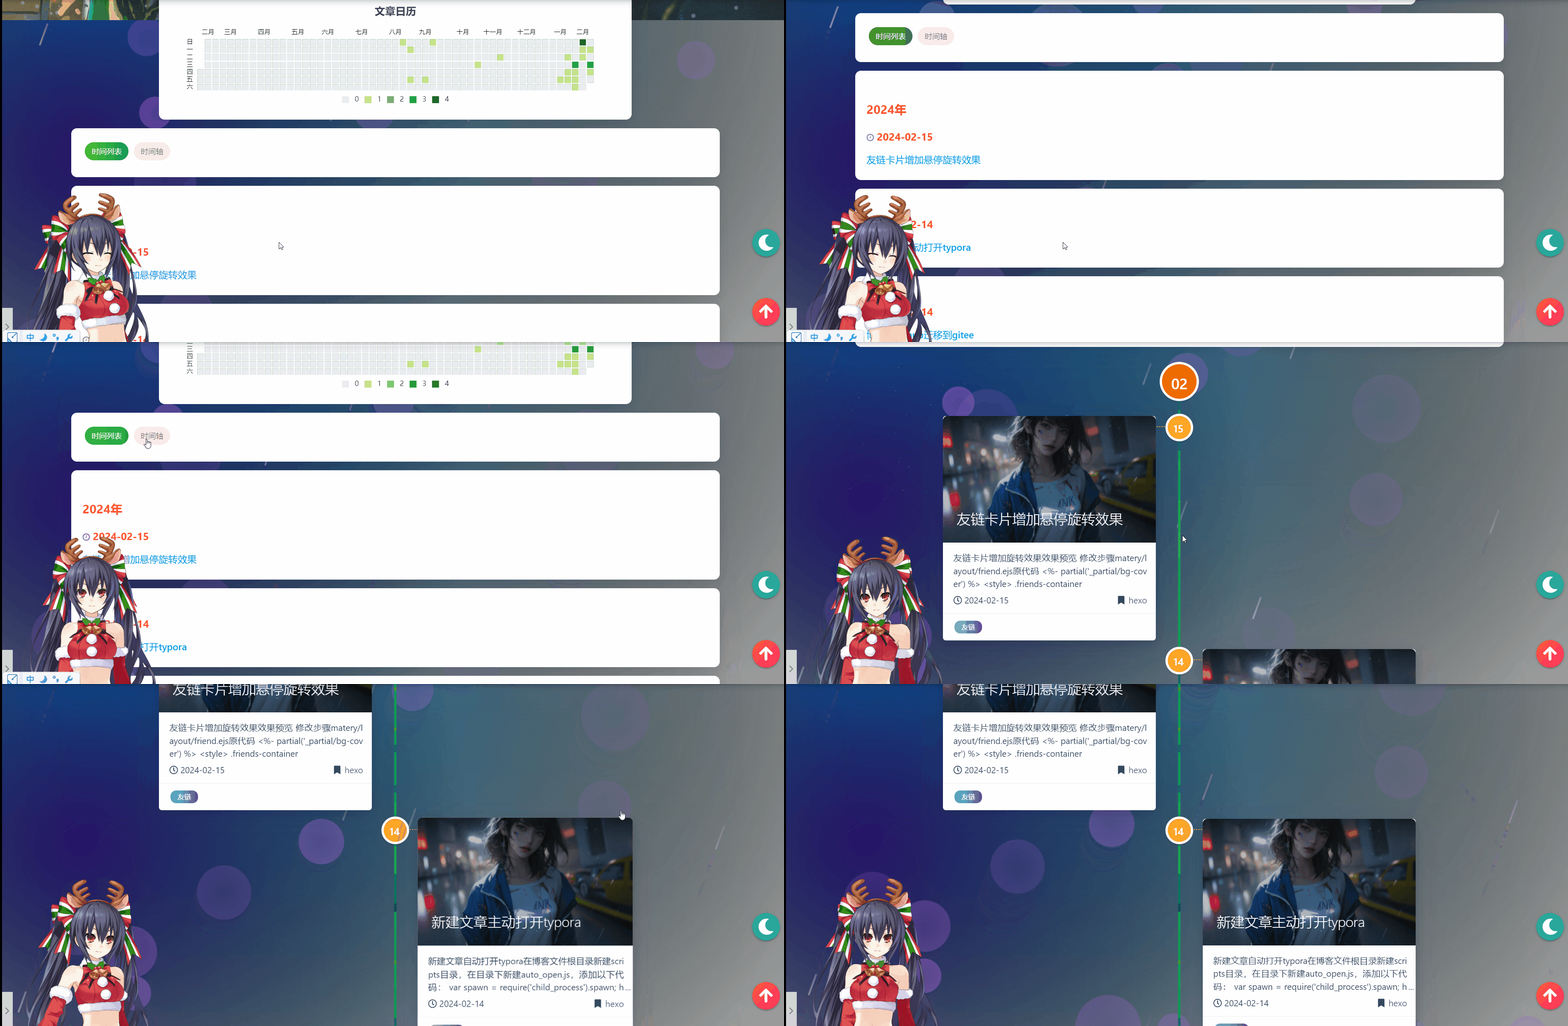
效果预览

修改步骤
归档的布局文件是主题目录下的/layout/archive.ejs,原代码如下:
<!--时间轴区域块-->
   <div id="cd-timeline" class="container" style="display: none;">
       <% page.posts.each(function(post) { %>
           <div class="cd-timeline-block">

               <%# year. %>
               <% if (date(post.date, 'YYYY') != year) { %>
                   <% year = date(post.date, 'YYYY'); %>
                   <div class="cd-timeline-img year" data-aos="zoom-in-up">
                       <a href="<%- url_for('/archives/' + year) %>"><%- year %></a>
                   </div>
               <% } %>

               <%# month. %>
               <% if (date(post.date, 'YYYY-MM') != month) { %>
                   <%
                       month = date(post.date, 'YYYY-MM');
                       var m = date(post.date, 'MM')
                   %>
                   <div class="cd-timeline-img month" data-aos="zoom-in-up">
                       <a href="<%- url_for('/archives/' + year + '/' + m) %>">
                          <%- m %></a>
                   </div>
               <% } %>

               <%# every day posts. %>
               <div class="cd-timeline-img day" data-aos="zoom-in-up">
                   <span><%- date(post.date, 'YYYY-MM-DD').substring(8, 10) %></span>
               </div>
               <article class="cd-timeline-content" data-aos="fade-up">
                   <div class="article col s12 m6">
                       <div class="card">
                           <a href="<%- url_for(post.path) %>">
                               <div class="card-image">
                                   <% if (post.img) { %>
                                       <img src="<%- url_for(post.img) %>"
                                            class="responsive-img"
                                            alt="<%= post.title %>">
                                   <% } else { %>
                                       <%
                                           featureimg =                                           featureImages[Math.abs(hashCode(post.title)
                                          % featureImages.length)];
                                       %>
                                    <img src="<%- theme.jsDelivr.url %>
                                                 <%- url_for(featureimg) %>"
                                     class="responsive-img" alt="<%= post.title
                                                                 %>">
                                   <% } %>
                                   <span class="card-title"><%= post.title %>
                                      </span>
                               </div>
                           </a>
                           <div class="card-content article-content">
                               <div class="summary block-with-text">
                                   <% if (post.summary && post.summary.length > 0)
                                      { %>
                                       <%- post.summary %>
                                   <% } else { %>
                                       <%- strip_html(post.content).substring(0,
                                           120) %>
                                   <% } %>
                               </div>
                               <div class="publish-info">
                               <span class="publish-date">
                                   <i class="far fa-clock fa-fw icon-date"></i>
                                  <%= date(post.date, config.date_format) %>
                               </span>
                                   <span class="publish-author">
                                       <% if (post.categories &&
                                          post.categories.length > 0) { %>
                                           <i class="fas fa-bookmark fa-fw
                                                     icon-category"></i>
                                           <% post.categories.forEach(category => {
                                              %>
                                               <a href="<%- url_for(category.path)
                                                        %>" class="post-category">
                                   <%- category.name %>
                                   </a>
                                           <% }); %>
                                       <% } else if (post.author &&
                                          post.author.length > 0) { %>
                                           <i class="fas fa-user fa-fw"></i>
                                           <%- post.author %>
                                       <% } else { %>
                                           <i class="fas fa-user fa-fw"></i>
                                           <%- config.author %>
                                       <% } %>
                                   </span>
                               </div>
                           </div>

                           <% if (post.tags && post.tags.length) { %>
                               <div class="card-action article-tags">
                                   <% post.tags.forEach(tag => { %>
                                       <a href="<%- url_for(tag.path) %>">
                                          <span
                                                   class="chip bg-color">
                                             <%= tag.name %></span></a>
                                   <% }); %>
                               </div>
                           <% } %>
                       </div>
                   </div>
               </article>
           </div>
       <% }); %>
</div>在主题目录下的/layout/archive.ejs文件中添加如下代码:
先添加
时间列表和时间轴的切换按钮<div class="container"> <div class="card"> <div class="card-content"> <div class="tag-chips"> <span onclick="showTable()" id="sp-table" class="chip center-align waves-effect waves-light default" data-tagname="时间列表" style="background: linear-gradient(to right, rgb(76, 191, 48) 0%, rgb(15, 157, 88) 100%); color: rgb(255, 255, 255);">时间列表 </span> <span onclick="showTime()" id="sp-timeline" class="chip center-align waves-effect waves-light default" data-tagname="时间轴" style="background: rgb(249, 235, 234); color: rgba(0, 0, 0, 0.6);">时间轴 </span> </div> </div> </div> </div>实现切换效果的
js代码:<script> function showTime() { $("#cd-timeline").show(); $("#cd-table").hide(); $("#sp-timeline").css('background', 'linear-gradient(to right, #4cbf30 0%, #0f9d58 100%)'); $("#sp-timeline").css('color', '#fff'); $("#sp-table").css('background', '#F9EBEA') $("#sp-table").css('color', 'rgba(0,0,0,0.6)'); } function showTable() { $("#cd-timeline").hide(); $("#cd-table").show(); $("#sp-table").css('background', 'linear-gradient(to right, #4cbf30 0%, #0f9d58 100%)'); $("#sp-table").css('color', '#fff'); $("#sp-timeline").css('background', '#F9EBEA') $("#sp-timeline").css('color', 'rgba(0,0,0,0.6)'); } </script>-
<div id="cd-table" class="container archive-container">
        <% page.posts.each(function(post) { %>
            <div class="card">
                <div class="card-content">
                    <div class="archive">
                        <%# year. %>
                        <% if (date(post.date, 'YYYY') != year) { %>
                            <% year = date(post.date, 'YYYY'); %>
                            <h4 class="archive-year" id="<%- year %>"><%- year %>年
                            </h4>
                        <% } %>

                        <div class="articles">
                            <div class="article content>">
                                <div class="article-sort-post">
                                    <div class="article-sort-item_title">
                                        <a href="<%- url_for(post.path) %>">
                                        <h5>
                                        <i class="fa fa-clock"
                                          style="font-size: 1rem;cursor: pointer;">														 </i>
                                         <time class="is-text-small" 																			datetime="2021-08-20T20:20:00.000Z"
                                         itemprop="datePublished" style="color: 																#ff542d;">
                                          <%- date(post.date, 'YYYY-MM-DD') %>
                                           </time>
                                            </h5>
                                        </a>
                                        <h6 class="is-6">
                                            <a href="<%- url_for(post.path) %>"></a>
                                            <a href="<%- url_for(post.path) %>">
                                               <%= post.title %></a>
                                        </h6>
                                    </div>
                                </div>
                            </div>

                        </div>
                    </div>
                </div>
            </div>
        <% }); %>
</div>
然后即可进行本地预览参看效果,当然你也可以自行修改代码实现更优美的效果。
优化二
之前的时间列表样式感觉不是很美观,遂起了修改样式的想法。
于是博览了众多博客,发现了几款非常不错的归档样式:
样式一
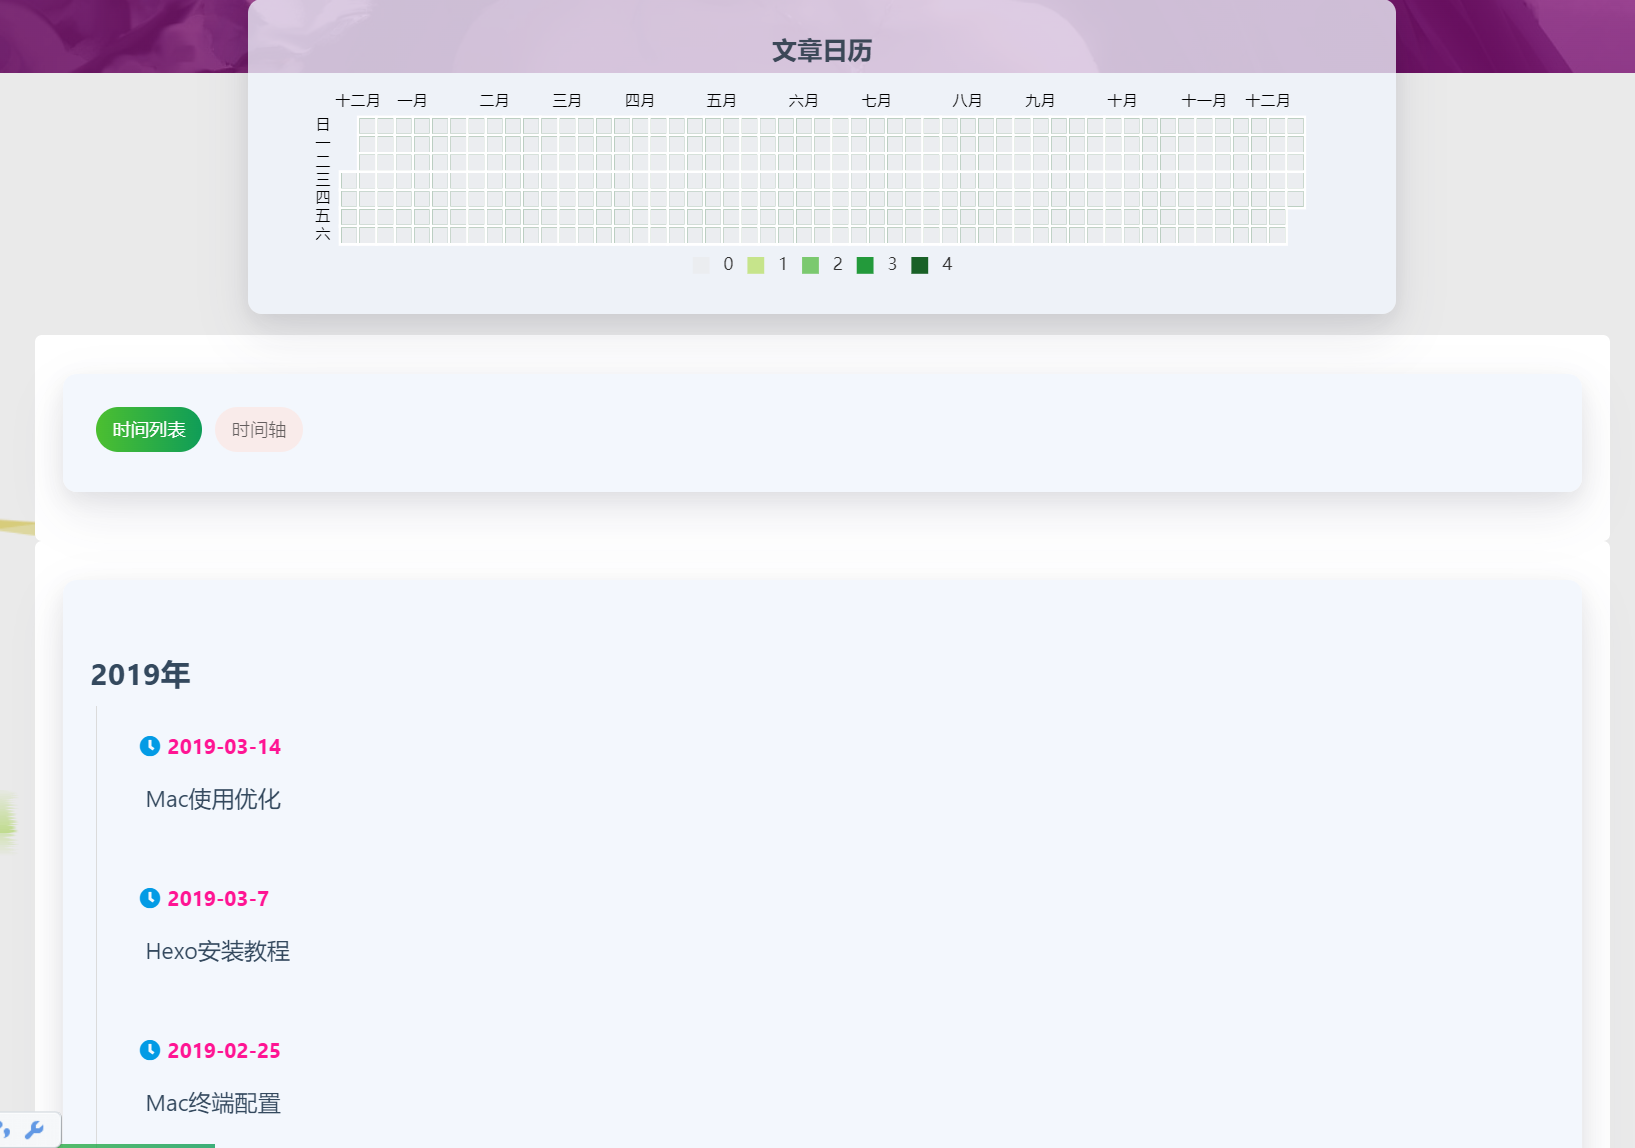
效果预览

实现
将这段代码中卡片的样式删去这四行代码:
<div class="card">
    <div class="card-content">

    </div>
</div>
然后在archive.ejs中加入以下样式代码:
<style>
    /*归档自定义样式*/
    .archive-container{
      padding: 20px;
      -webkit-border-radius: 5px;
      -moz-border-radius: 5px;
      border-radius: 5px;
      background-color: #fff;
    }
    .archive:not(:last-child) {
      margin-bottom: 3rem;
    }

    .archive .articles {
      border-left: 1px solid #dbdbdb;
    }

    .archive .article {
      border-top: none;
      margin-left: -1px;
      padding: 0.4rem 1.5rem;
      border-left: 3px solid transparent;
    }

    .archive .article:hover {
      transition: all .6s;
      -webkit-transition: all .6s;
      -o-transition: all .6s;
      -moz-transition: all .6s;
      border-left-color: #0f9d58 ;
    }

    .archive .article time {
      font-size: 1rem;
      color: deeppink;
      /* color: darkgray; */
    }
    article-sort-item_title{
      display: -webkit-box;
      overflow: hidden;
      height: 60px;
      color: #4c4948;
      font-size: .75rem;
      -webkit-transition: all .3s;
      -moz-transition: all .3s;
      -o-transition: all .3s;
      -ms-transition: all .3s;
      transition: all .3s;
      -webkit-line-clamp: 2;
      -webkit-box-orient: vertical;
    }

    .archive .article h6 {
      margin: 0;
    }

    .archive .article h6 a {
      line-height: 2.5;
      color: inherit;
      border-bottom: 1px dashed transparent;
    }

    .archive .article h6 a:hover {
      border-bottom-color: #0f9d58;
      padding-left: 16px;
      transition: all .5s;
      -webkit-transition: all .5s;
      -o-transition: all .5s;
      -moz-transition: all .5s;
    }

    .archive .articles .imgcontent{
      display: inline-block;
      width: 80px;
      height: 80px;
      overflow: hidden;
    }

    .archive .articles .imgcontent .postimg{
      width: 100%;
      height: 100%;
      object-fit: cover;
    }
    .archive .articles .imgcontent .postimg:hover{
      transform: scale(1.3);
      transition: all .6s;
      -webkit-transition: all .6s;
      -o-transition: all .6s;
      -moz-transition: all .6s;
    }
    .article-sort-post{
      display: inline-block;
      position: relative;
      top: -16px;
      left: 10px;
    }

    .hbe-input-container{
      width: 80%;
      max-width: 800px;
      position: relative;
      margin: 100px auto;
    }

    .hbe-input-container  .btn-decrypt{
      display: inline-block;
      vertical-align: top;
      width: 120px;
      height: 32px;
      line-height: 32px;
      font-size: 16px;
      color: #ffffff;
      background-color: #3f90ff;
      text-align: center;
      -webkit-border-radius: 3px;
      -moz-border-radius: 3px;
      border-radius: 3px;
    }
    .about-cover {
      height: 50vh;
    }
    .desc-content{
      padding: 0 50px;
    }
    @media only screen and (max-width: 601px) {
      .desc-content {
        padding: 0 15px;
      }
    }

    .v .vlist .vcard {
      padding-top: 2.5em !important;
    }

</style>样式来源:归档 | Sky03我的薰衣草
样式二
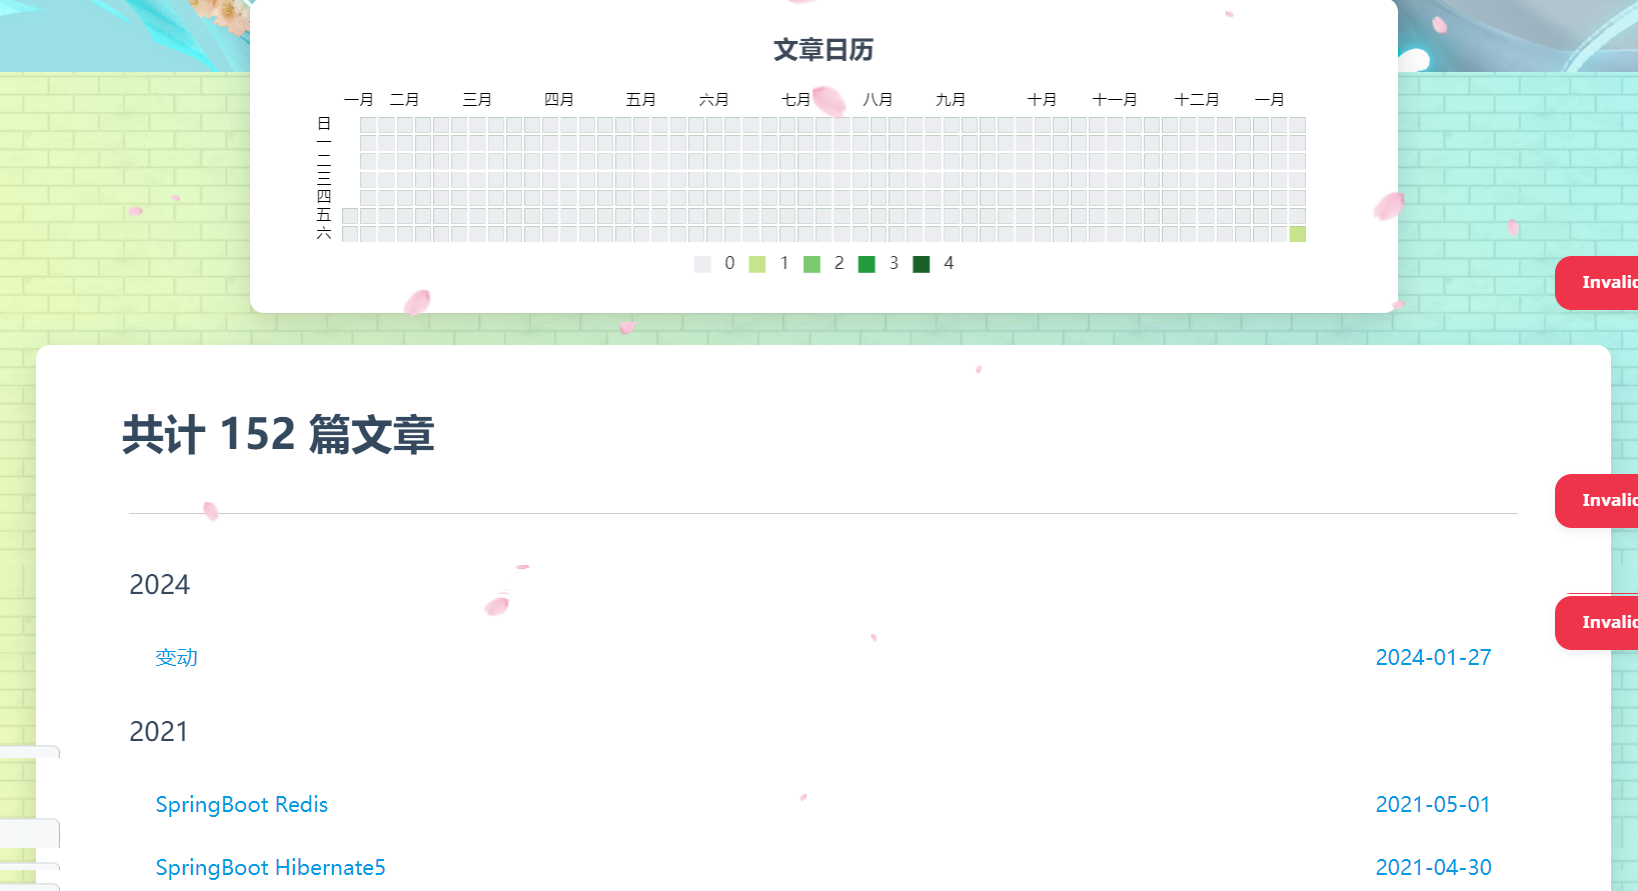
效果预览

实现
暂未处理,有意向者可以去归档 | 斯莫笔记 (zhangxiaocai.cn)查看
样式三
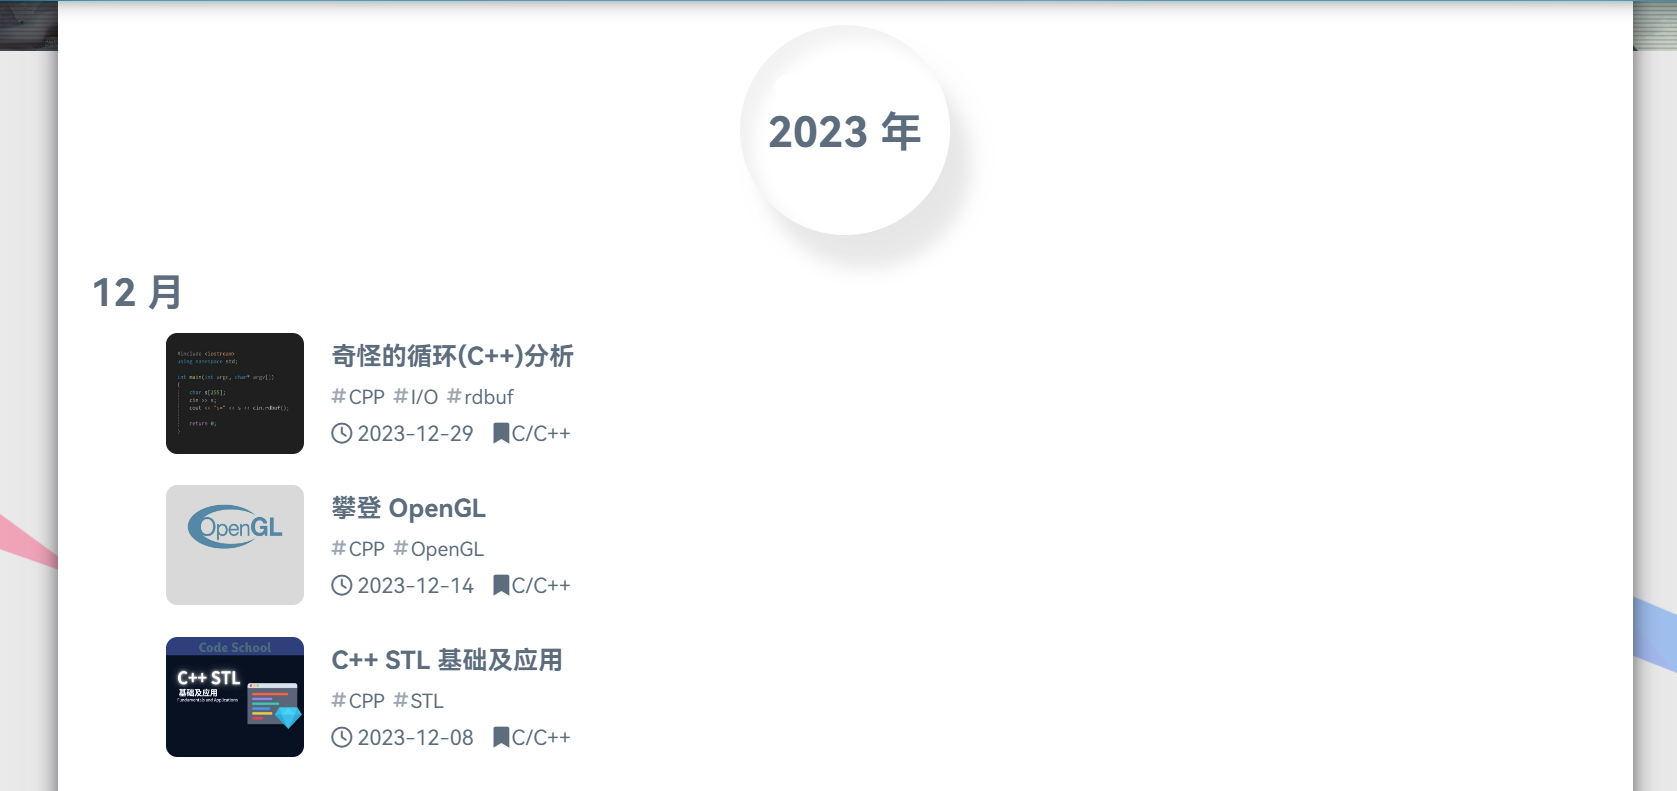
效果预览

实现
暂未处理,有意向者可以去归档 | SeaYJ’s Blog查看


